When it is time to position furnishings in your early childhood classroom, the proper layout makes all the difference.
Without a plan for where your furnishings will go, you could end up with open areas that promote rambunctious behavior and excessive noise, making it difficult for children to focus or follow directions. You may find that your furnishings block traffic pathways or create closed-off sections of your classroom that limit a teacher’s line of sight and go against your state guidelines and regulations.
You could also end up with too many furnishings or tables and shelving units that don’t quite fit in your space – potentially leading to more time and money lost as you order replacements.
At Kaplan, we understand the importance of filling your classroom space with age-appropriate and perfectly sized furnishings. Because we know that a well-designed classroom enhances educational experiences and helps children of all ages reach their full potential.
This article will introduce you to the myKaplan FloorPlanner design tool, how you can use it, and how it will take the guesswork out of furnishing your early childhood classroom.
What is the myKaplan Classroom FloorPlanner?
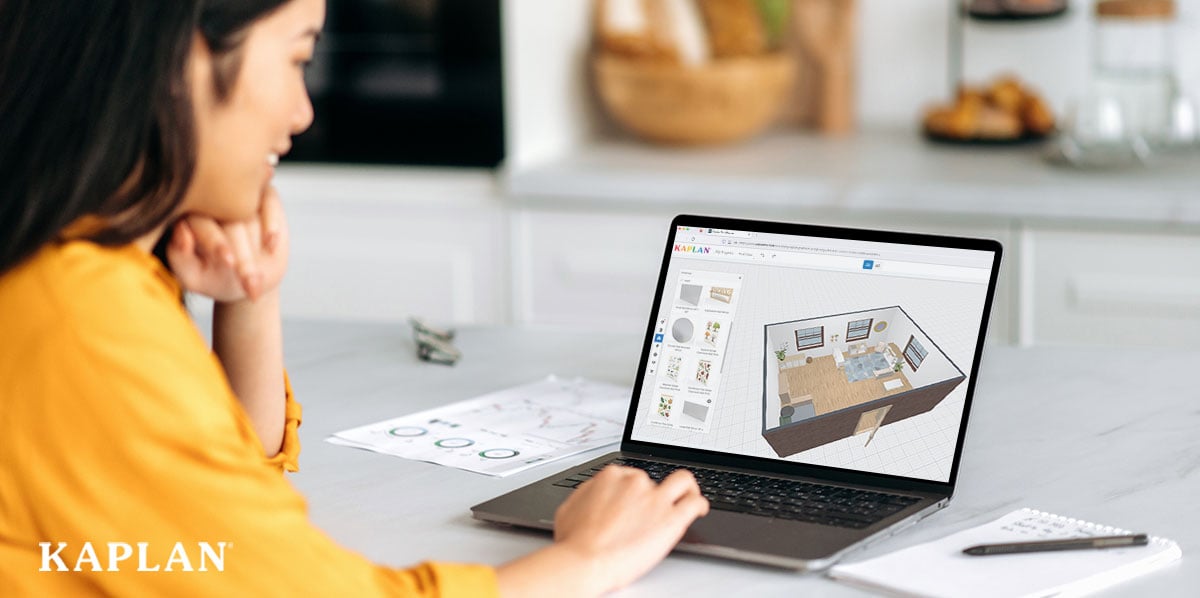
The myKaplan Classroom FloorPlanner is a free tool you can use to create a digital 2D or 3D rendering of your early childhood classroom. Using items from the Kaplan inventory, you can add and arrange classroom furnishings within your design to get a realistic view of how they will fit in your space and promote child growth and development.
How do I use the myKaplan FloorPlanner to design my early childhood classroom?
To start using the myKaplan Classroom FloorPlanner, you need to register for a myKaplan Gold account. This is a free online account that allows you to shop our inventory, purchase classroom materials, and track orders as they ship to your facility. Once you create your free account, follow these steps to design your early childhood classroom:
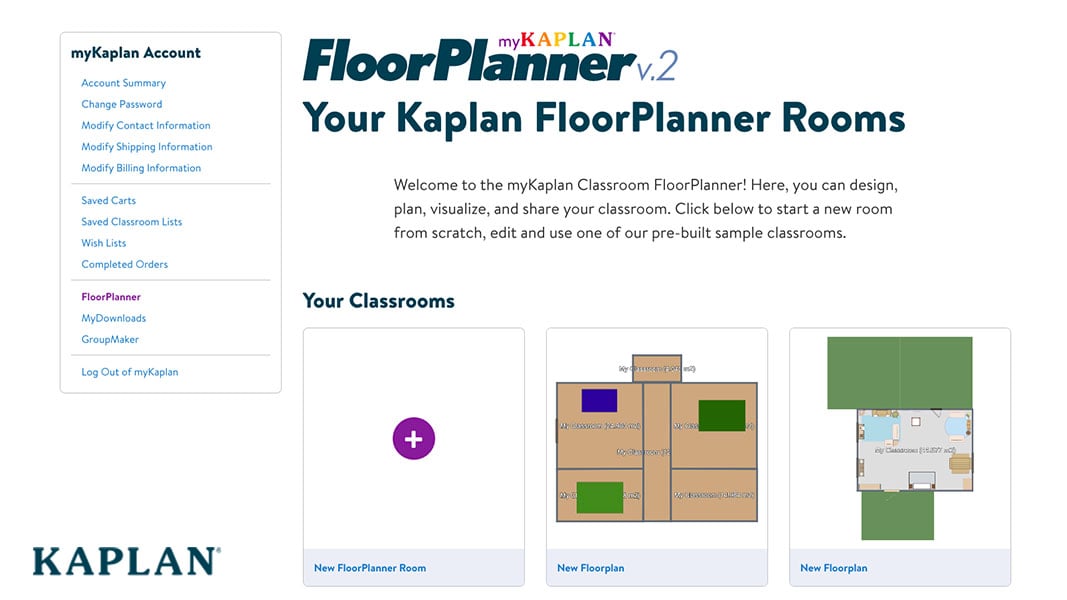
1. Open a new classroom design board.
After signing into your account, you will see a prompt asking you to create a new classroom design board. You can choose between one of our premade classroom design options or start a design from scratch. When using the myKaplan FloorPlanner, you can choose between a 2D and 3D view to help you place items in the appropriate places around your classroom.
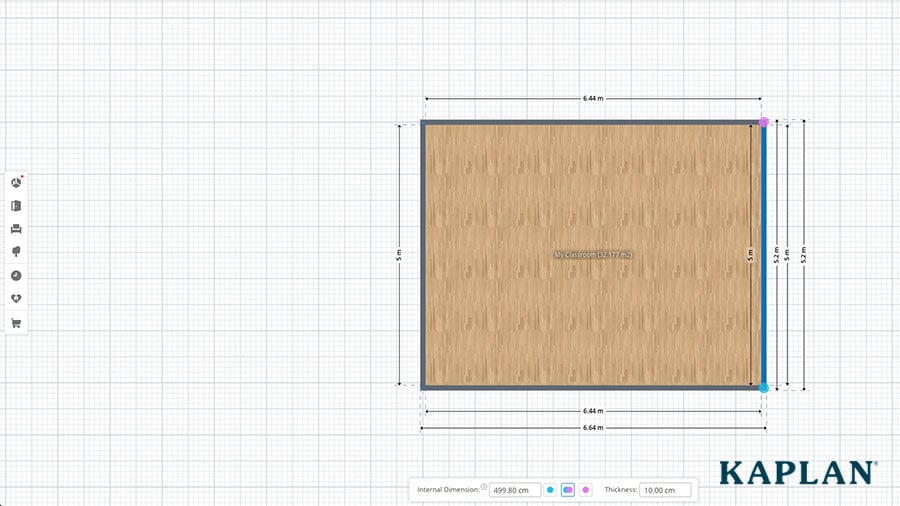
2. Create the structure of your classroom.
Once you open a new design board, the first thing you will want to do is adjust the walls of your classroom to the appropriate size. Make your classroom look realistic by updating the wall color and flooring to match your current classroom.
Next, you can use the design tools on the left-hand side of your screen to add doors, windows, and furnishings to your design. When you place an item in your design, an editing menu will pop up that allows you to rotate, adjust the height, or change the color of the selected item.
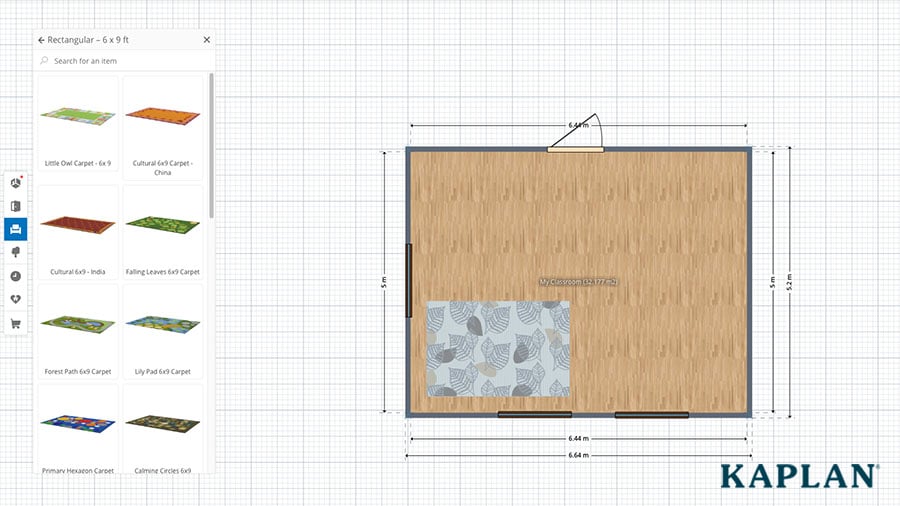
3. Define your classroom spaces with carpets and rugs.
Using the design toolbar, search through our interior carpets to find rugs that fit your space. Place them around your classroom to define your centers and learning areas. You can choose from rectangular and oval-shaped rugs in various sizes, textures, and patterns.
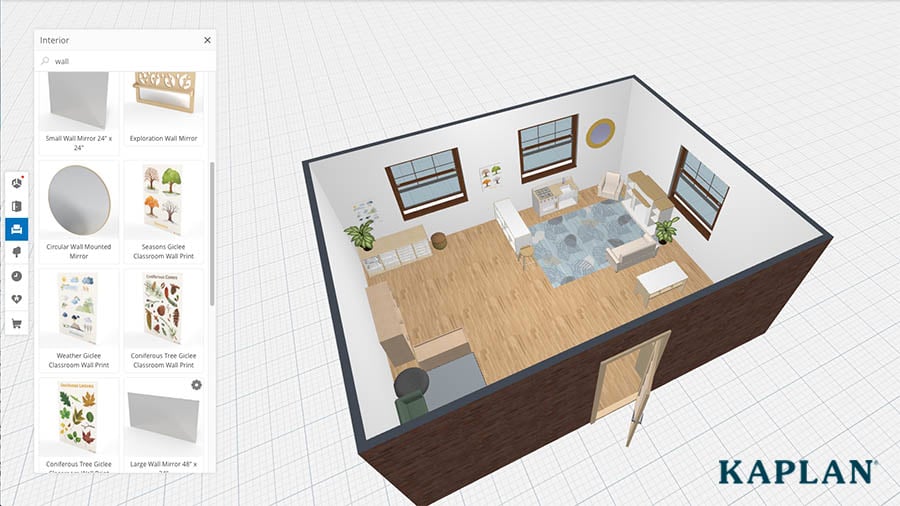
4. Add classroom furnishings and storage solutions.
Once you have rugs in place, it is time to add your large furniture units, shelving, tables, chairs, etc. You will find these items in the left-hand toolbar. Once you add an item to your design, use the curved arrow on the editing menu to rotate and align it appropriately in your space. The 3D view can help you place large furniture near windows so you do not block the natural light or outdoor views.

5. Warm up your design with decorative items.
Inside the FloorPlanner, you will find giclee wall prints, lamps, baskets, floor pillows, and other decorative items that add warmth and natural elements to your space. You can use the up/down arrow on the editing menu to place items on the floor or on top of your shelving units.
6. Bring your classroom design to life.
After you complete your classroom design, it is time to bring it to life. You can visit the shopping cart in the left-hand toolbar to purchase any of the items within your design. Or, you can print the list of items in your design and browse our website to find the exact early childhood furnishings and materials needed for your space.
If you need to furnish an entire center, reach out to your local Kaplan representative, who can streamline the ordering process.
Is the entire Kaplan inventory available to use in the myKaplan FloorPlanner?
Unfortunately, the myKaplan FloorPlanner does not include our full inventory. This is because our inventory constantly changes, and the FloorPlanner system cannot keep up with new product releases or out-of-stock items. However, we provide a variety of furnishings and materials inside the FloorPlanner that serve the purpose of this tool – to help you configure the layout of your early childhood classroom.
When it comes time to purchase items for your classroom, you can shop our full inventory on our website to find the furnishings and products that fit the measurement specifications of your design. If you need help with your order or finding products that fit your space, your local Kaplan representative will gladly assist you.
Can I design more than one classroom with the myKaplan Classroom FloorPlanner?
Yes! Using the myKaplan FloorPlanner, you can create an unlimited number of classroom designs. While you can design the layout of your entire center on one design board, we suggest creating separate boards for each of your classrooms. Individual design boards will make it easier to share your classroom setup with others and create classroom-specific invoices when ordering your desired furnishings.
Creating separate design boards will also make it easier to order supplies for multiple classroom locations or facilities you operate.
Can I save my classroom design?
Absolutely! The myKaplan FloorPlanner will automatically save your designs as you work within the program. Your saved classrooms will live in your myKaplan FloorPlanner account indefinitely or until you delete them.
What happens after I complete my classroom design using the myKaplan Classroom FloorPlanner?
Using the myKaplan FloorPlanner prevents you from ordering items that will not fit your space, no matter how much you move them around. Once your design is complete, it is time to place an order and fill your classroom with furnishings that enhance the growth and development of young children.
Your local Kaplan representative will be happy to assist you with the ordering process. They can help you choose items that fill your space appropriately, without disrupting natural lighting or window views. They will also ensure you choose furnishings that create a warm, inviting environment in your classroom and early childhood center.